|
BEFORE WE HEAD TO SOME FUN LEARNING TOOLS...I would love to update you on the progress with my first children's book. I survived to editing stage and now we have finally arrived at one of the last stages, ILLUSTRATIONS. Below is a sneak peek of the main character, Kanani, and her brother, Chad. This is a collaboration between my illustrator and a good friend who does illustration professionally. Check out her instagram page. Please let me know what you think about this mock-up in the comments below: 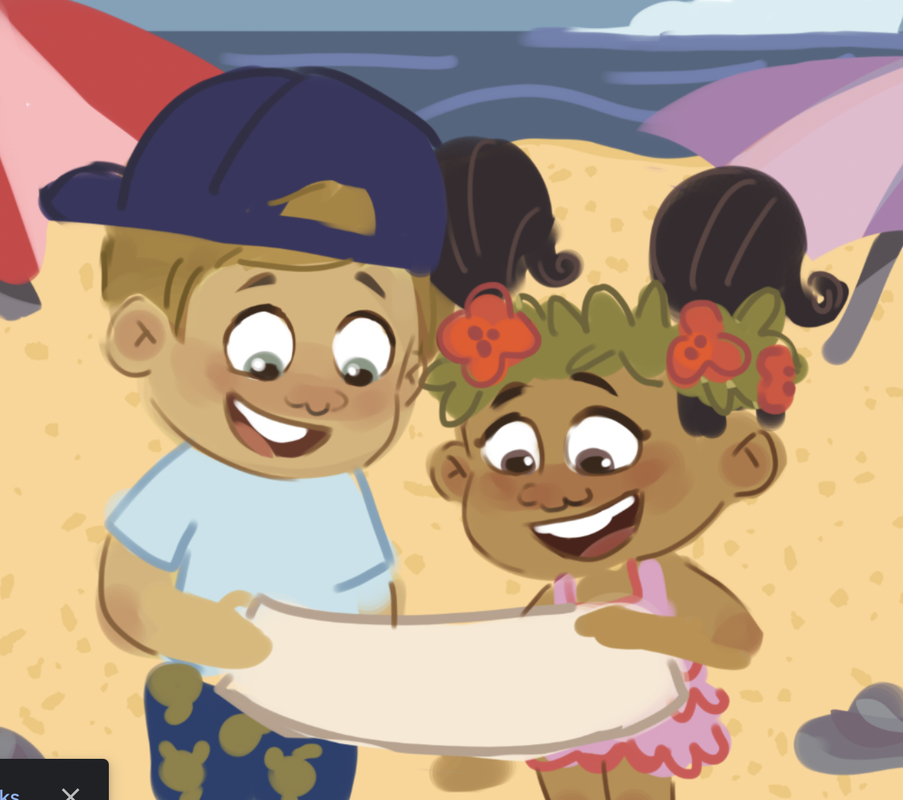 TODAY'S BLOG POST CONTAINS TIPS OF HOW TO USE LEFT OVER STICKERS FROM THE SCHOOL YEAR OVER THE SPRING AND SUMMER MONTHS. Of course, my creative daughter, Shelby, and her friend, Amy, discovered a fun method to check their children's knowledge after a full year of Kindergarten homeschooling....USING LEFT OVER STICKERS! ********************************************************************************************************************************************** HERE ARE 7 CREATIVE USES FOR YOUR LEFT OVER STICKERS: 1. SITE WORDS: Words that we use often, especially those that do not follow the typical phonetic spelling rules, are worth the time to memorize. These 'special' words are called SITE WORDS. You can teach your children these words in a variety of ways (flash cards, writing them out, circling them each time they see them in a book, putting them in a word search, etc.). HOWEVER, will never really know if they learned them all if we don't 'test' them. My daughter and her friend found a fun way to disposed of all their leftover stickers after a great year of homeschooling to test Ollie and Ruby's site word knowledge. They wrote all of their site words on a piece of paper, said them one at a time out loud, then had the children cover the correct site word with a sticker. Any unknown site words will get a little extra attention over the summer before the new school year starts. Love it! GREAT IDEA SHELBY AND AMY! 2. ALPHABET ALL CAPITALS: When children are first learning their alphabet, the focus should FIRST BE ON THE CAPITAL LETTERS that represents each of the 27 letters of the alphabet. Even if you only have flash cards that have the capital and lower case letters together, begin with training their eyes to recognize the capital letters. Lower case letters can come later. There are many lower case letters that look similar and can cause confusion (e.g. b, d, p, q, etc.), but of course not everyone agrees with this theory. If you agree with my approach, then before moving on to the lower case letters, it is helpful to again 'test' their knowledge. A fun way to do this is will be making a chart with each letter of the alphabet, ask your child to find a letter and put a sticker on the correct letter. You will quickly notice which ones they confuse. Spend a little more time with those missing pieces of their alphabet puzzle and check them again soon. They will have them down before you know it!  3. UPPER AND LOWER CASE LETTERS: Now there is a need to move on to adding the lower case letters to your child's knowledge bank. Of course, most books are written using lower case letters and people write personal notes, lists, cards, etc. using lower case letters, so we need to be sure our children are proficient in their knowledge of lower case letters for literacy and writing purposes as soon as they are able. There are a few levels to check to see if they know their lower case letters: a. Begin by placing a capital and lower case together and ask them to use a sticker to cover the 'Aa', for example. b. Place about five capital letters and five lower case letters scattered around a sheet of paper and alternate between asking them to cover a capital letter than a lower case letter. For example say, 'Please cover the capital B'. Then say, 'Now please cover the lower case 'b'. If you try to do this using the whole alphabet, it may be too overwhelming. Once those 5 capital and 5 lower case letters are all covered, you can proceed to five more. c. Lastly, create a page using only lower case letters. Scatter them around the page and ask your children to cover each one with a sticker when you call out a chosen letter. Again, note the letters they struggle to identify and work on those until they can master recognition of those lower case letters.  4. RECOGNIZING NUMBERS: Similar to the lower case letters, do not put too many numbers on a page. If you child has been taught their 'ones', then write the numbers 1-10 scattered around a page. Name a number and have them cover that number with a sticker. If they master 1-10, then you can go on to check their knowledge of the 'teens', 'twenties', 'thirties', etc. I would not put more than ten numbers at a time, and I would not put groups of numbers that you have not practiced with them yet. In other words, do not write 40, 41, 42, 43, 44, 45, 46, 47, 48, 49 if you have never practiced numbers in the 40's with your child. Continue to note any mistakes and work with your children until they can easily recognize all numbers up till 100 before 1st grade if possible. P.S. Try to find a big brother to help :) Well done, Ollie!  5. SHAPES AND COLORS: Below is a video showing you how to check your child's ability to recognize shapes. To kill two birds with one stone, you could also put two identical shapes that are colored two different colors randomly among many other shapes. Ask your child to 'put a sticker on the red square', then ask them to 'now put a sticker on the purple square'. This will help you to know if they know their colors, however you will only know if they can distinuish 'squares' from other shapes if there are other shapes also colored red or purple. In order to know if they know the color and shape use two different colors and shapes distributed around on a sheet of paper. Then make sure you have two of every shape your child if familiar with and each shape set must be only two colors. For example: one red square and one purple square, one red triangle and one purple triangle, one red circle and one purple circle, etc. You could do this exercise again another day using to other unique colors to test their color knowledge on a broader scale. For example, the next time you quiz them use two squared colored brown and orange, two triangles colored brown and orange, etc. You get the point :) 6.. SPELLING HOMONYMS: Homonyms are words that sound alike but carry not only different meanings but different spellings. This can be confusing for adults, but how about for children who are just learning to read and spell! The best way to teach homonyms is to help your child link the spelling of at least one of the words to words they may already know. For example: you can link 'hear' with your 'ear', verses 'here' is the answer to 'where?'. You can make it quite fun to help your child learn to spell and read homonyms, but how will you ever know if they really can tell them apart...unless you quiz them! A fun way to do so is using stickers. Have sets of homonyms placed randomly one a sheet of paper. You can use words like: (here, hear), (weak, week), (sun, son), (see, sea), etc. Read a sentence with one half of the set of homonyms, so your child can hear the word used in the proper context. When you get to the word, say it over a few times so will know it is the one they are searching for one the page. Here is an example: "John got a sunburn because he was out in the hot sun, sun, sun". Please put a sticker on the word 'sun' that fits in this sentence. Hopefully your child will place their sticker on 'sun' and not 'son', but if they do just continue to work with them until they can tell them apart. Allow them to ask you questions if they are not sure how you are using the word. If you had taught them well and they had applied themselves to learning the difference in the two spellings, they can place a sticker on the correct spelling. If not, then you can continue working on this activity until they know the difference. This game may be the most challenging, but your child can learn the proper spelling of homonyms with time, effort and prayer. Pinterest has some nice charts you could print out, like the one below. Ask your child to put the stickers on the correct spelling for each picture. Even if this exercise is a little difficult, it will help them picture the different spellings and hopefully they can differentiate between them SOON!  7. REWARDS AND CORRECTION: Last but not least, I always used a behavior modification chart with stickers when my kids were young. I don't know about you, but it seemed that just when one method of teaching them right from wrong was working, then suddenly it wasn't! Kids find ways to tune us out when we drone on about the same things in the same way. Well, stickers always brought some new motivation. We would make charts with stickers. Then we didn't do charts for a while, then out came new charts with new stickers. Stickers FILLED the charts when required behaviors were accomplished and stickers were REMOVED when behavior guidelines were ignored. At the end of the week, stickers were counted and appropriate, promised rewards were given, or not! Keeping children at different ages motivated with this method all depends on consistency, location of the chart so we do not forget about it (e.g. frig, bedroom door, playroom door, etc) and the interest in the prize :) Be creative and click here for a chart sample. You can order them, print free ones online or make your own.  A very important aspect of using these charts is not to just reach a goal of 'behavior modification'. If our behavior is not a matter of the heart, then we fall right back into our old patterns, even as adults. Speak to your children about what is the reason behind their appropriate or inappropriate behavior. Are they doing it from the heart? If my children stomped around angrily when accomplishing a task, I would not reward them with a sticker. We taught our children to complete their tasks with a good attitude due to a desire to please God and their parents...because it is the right thing to do.
COLOSSIANS 3:17 'And whatever you do, in word or deed, do everything in the name of the Lord Jesus, giving thanks to God the Father through Him.' EPHESIANS 6:1 'Children, obey your parents in the Lord, for this is right' LORD, HELP US TO LEAD AND GUIDE OUR CHILDREN TO DO WHAT IS RIGHT IN YOUR EYES. HELP US TO USE TOOLS AT OUR DISPOSAL TO ACCOMPLISH THIS TASK.
3 Comments
Christine Penhale
9/23/2021 06:47:07 pm
Aww that’s great news Laura! I’m looking forward to seeing the final product!
Ashley
9/24/2021 07:44:05 am
Love this! Thanks for sharing :) Leave a Reply. |
